Wooden Monitor Stand Base

With only a few more weeks of access to the woodshop, I decided to do a project that would test all of my wood working skills. The old monitor stand base made out of recycled shelf mystery wood was starting to warp under the hefty 50lb triple monitor arm setup.
Starting the project, I only had two design requirements. The first requirement is obviously for the monitor stand to be strong enough to hold the load without warping for at least a decade or two. The second requirement, which I dedicated almost too much time towards, is for the monitor stand to look aesthetically pleasing. In hindsight, I should have added a third design requirement of not overcomplicating everything.
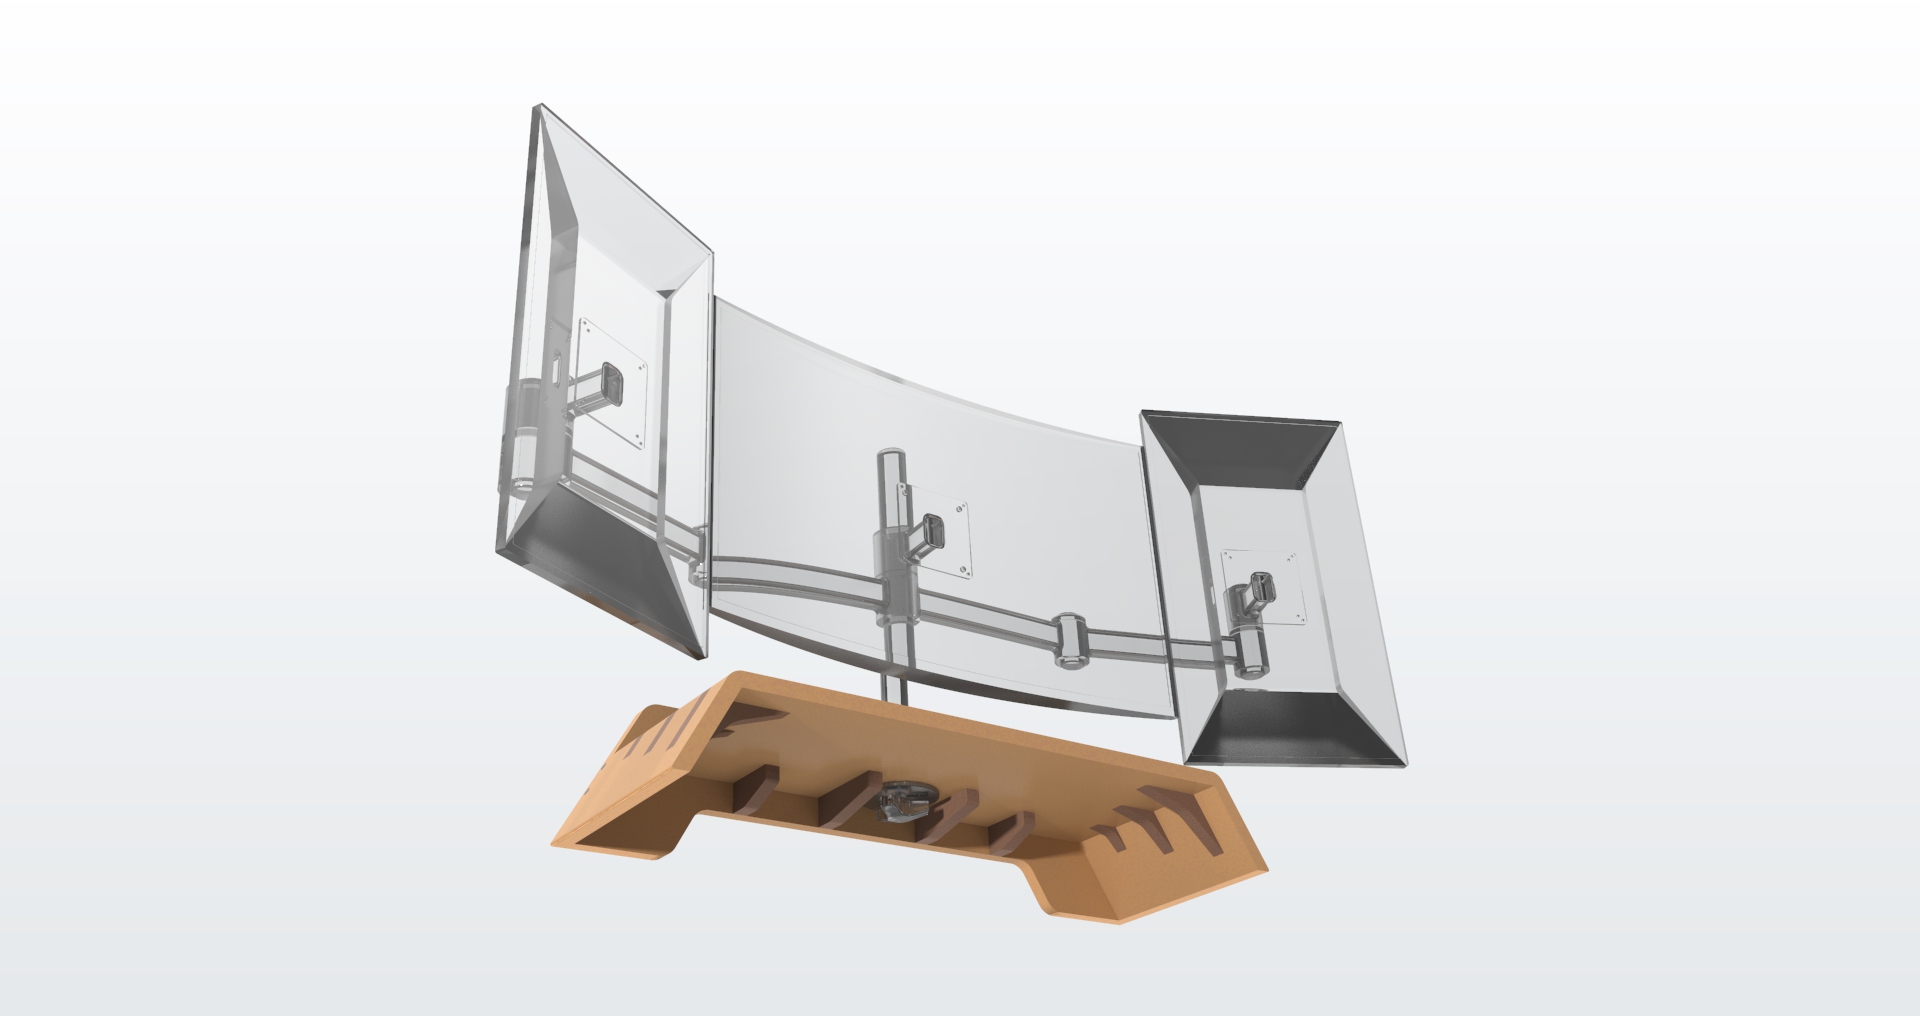
With those two design requirements the next step is to convert the image in my mind into a cad model with actual dimensions. Meticulous attention was put into every dimension both from a practical and aesthetic standpoint. In terms of practicality the height was set to a comfortable clearance for my hands to type under and the width chosen to keep the stand stable when the monitor arms are fully extended to one side. As for the subliminal design, the 60 degree angled sides point attention to my main curved 32 inch monitor giving a stable stance and the lengths and positions of the support ribs closely approximate the golden ratio.
Once I was satisfied with the design, I headed to the closest hardwood store 40 minutes away. It was my first time going to a dedicated hardwood store and I had no idea what to expect. I knew that my design called for two different colored wood pieces, but I had no idea that the hardwood store would have such a vast selection of wood. After over an hour of looking around and taking in the rich wood smell I decided to go with a plank of dark hard walnut and a beautiful plank of mineral stained poplar from the bottom of the pile.
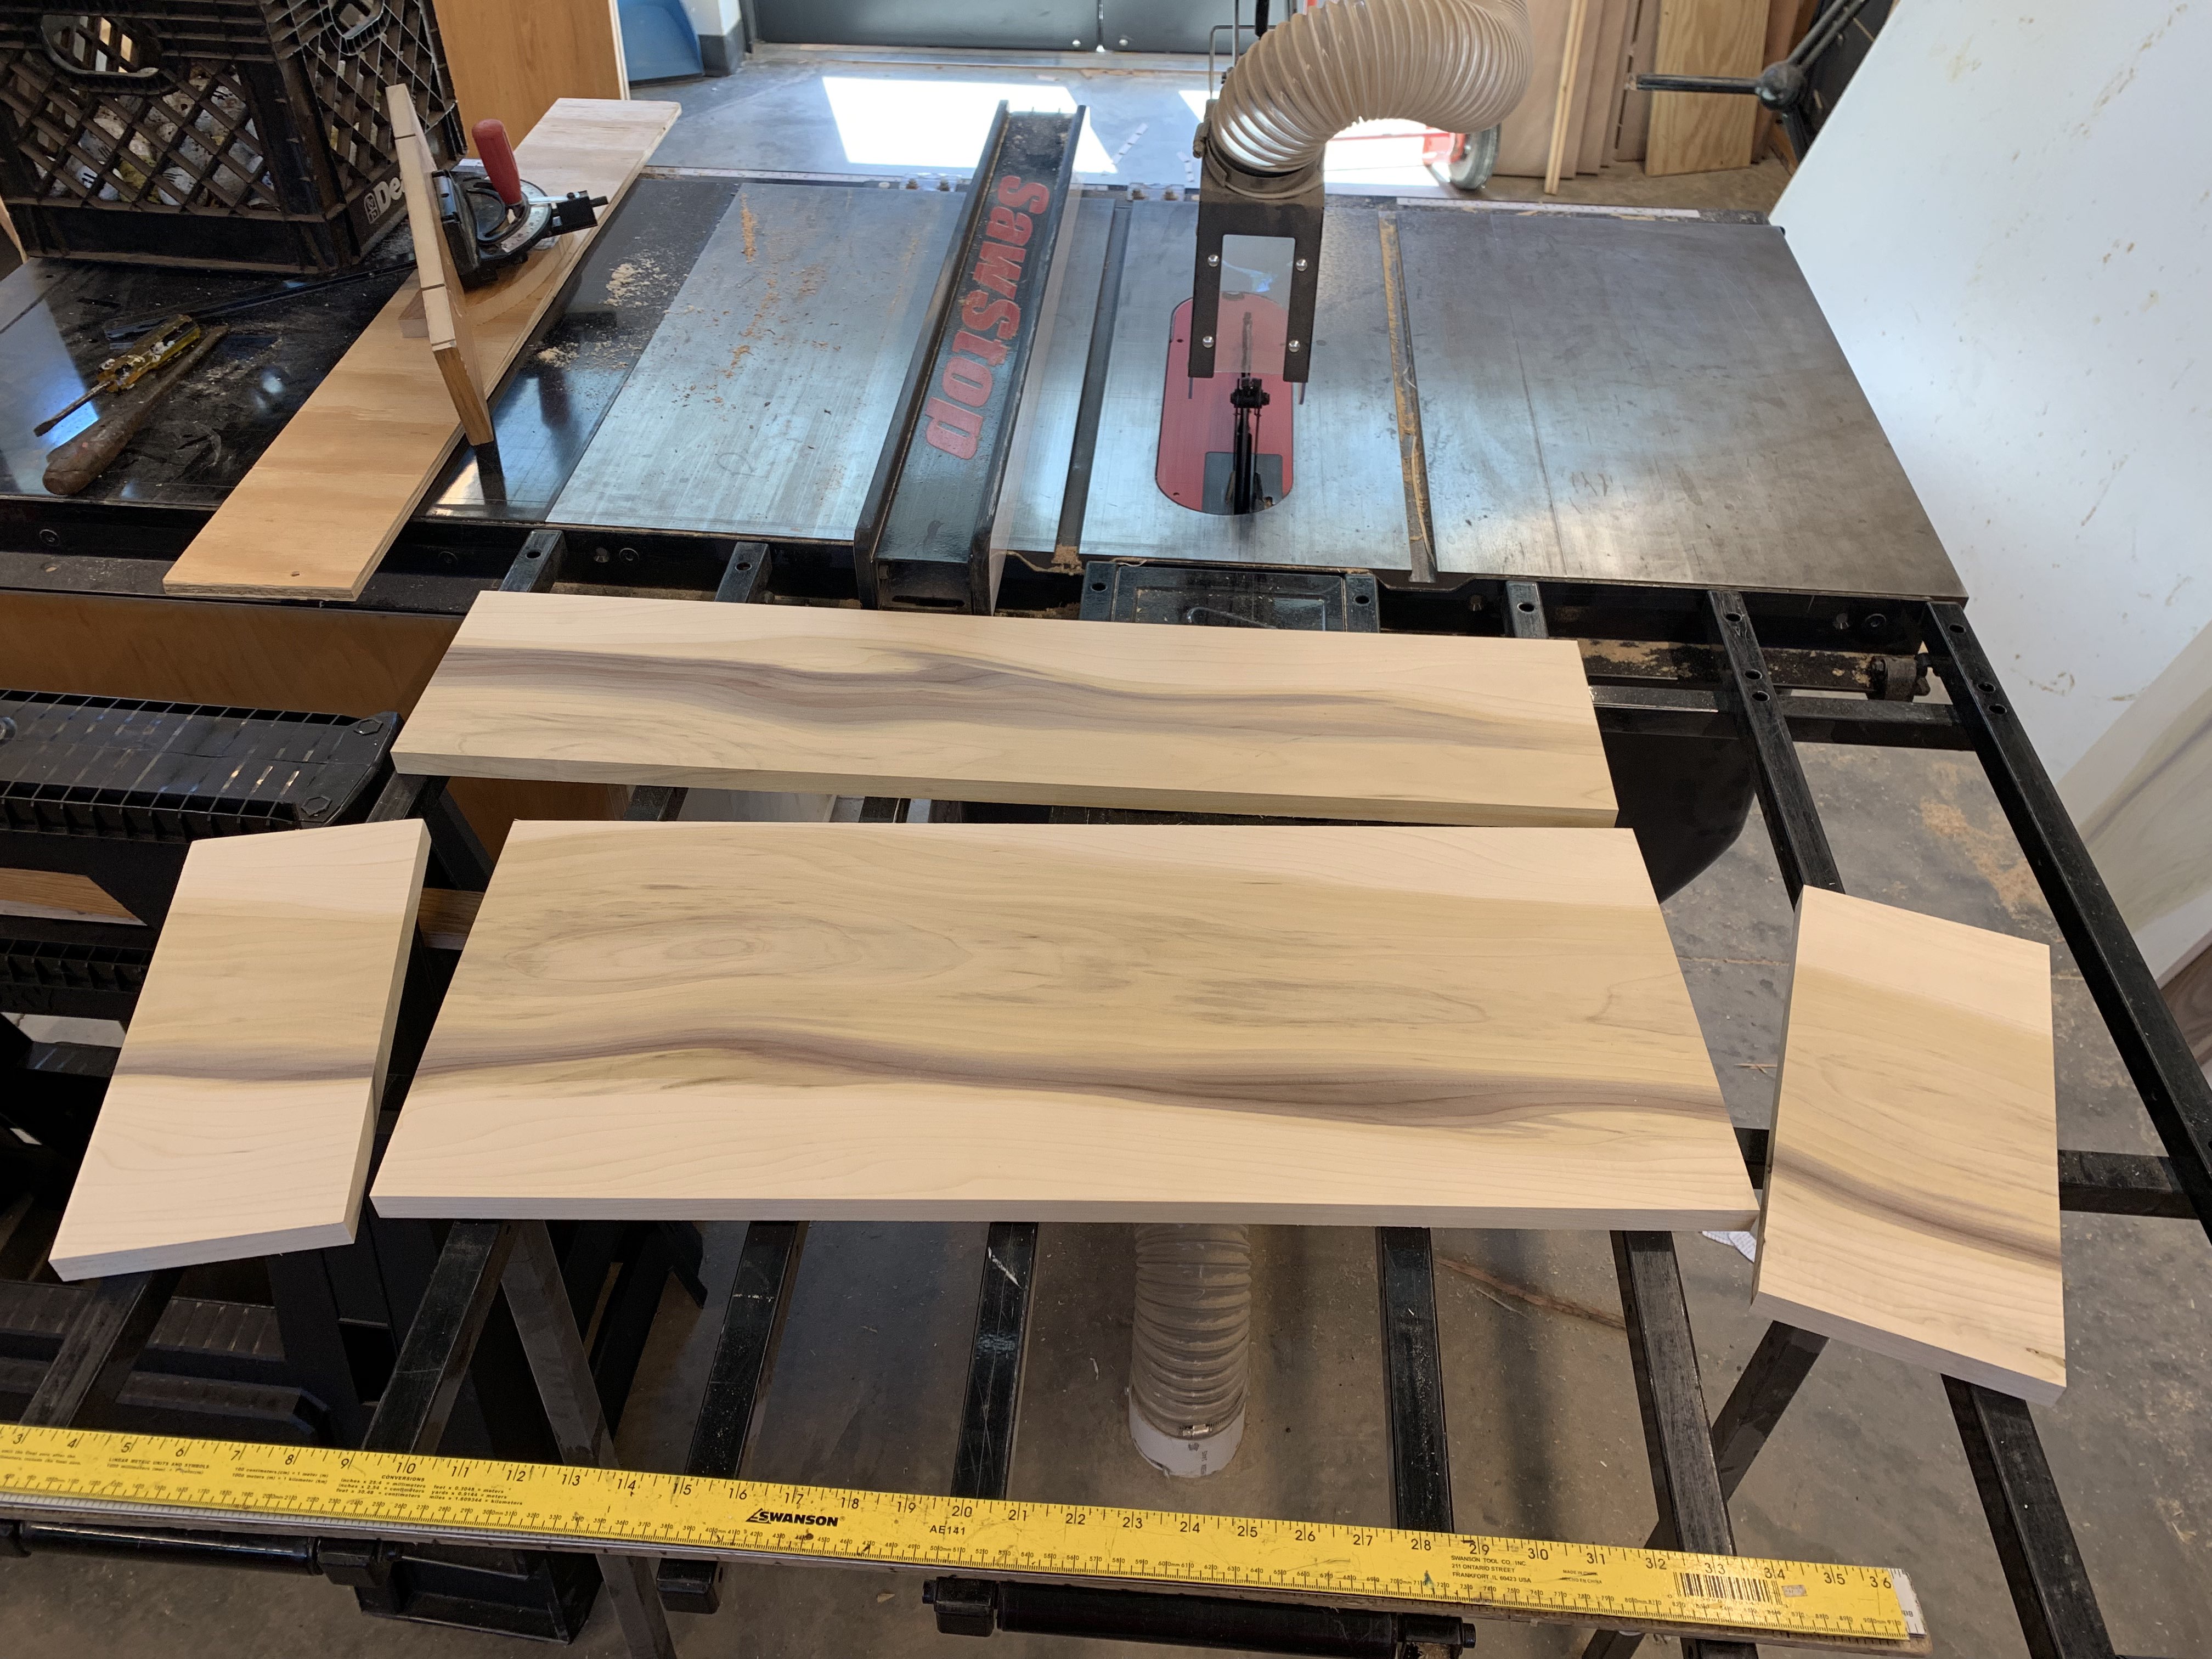
The first order of business is to rip the large poplar board down to dimension on the table saw. I forgot to follow the measure-twice-cut-once rule and almost messed up the cutting angle.
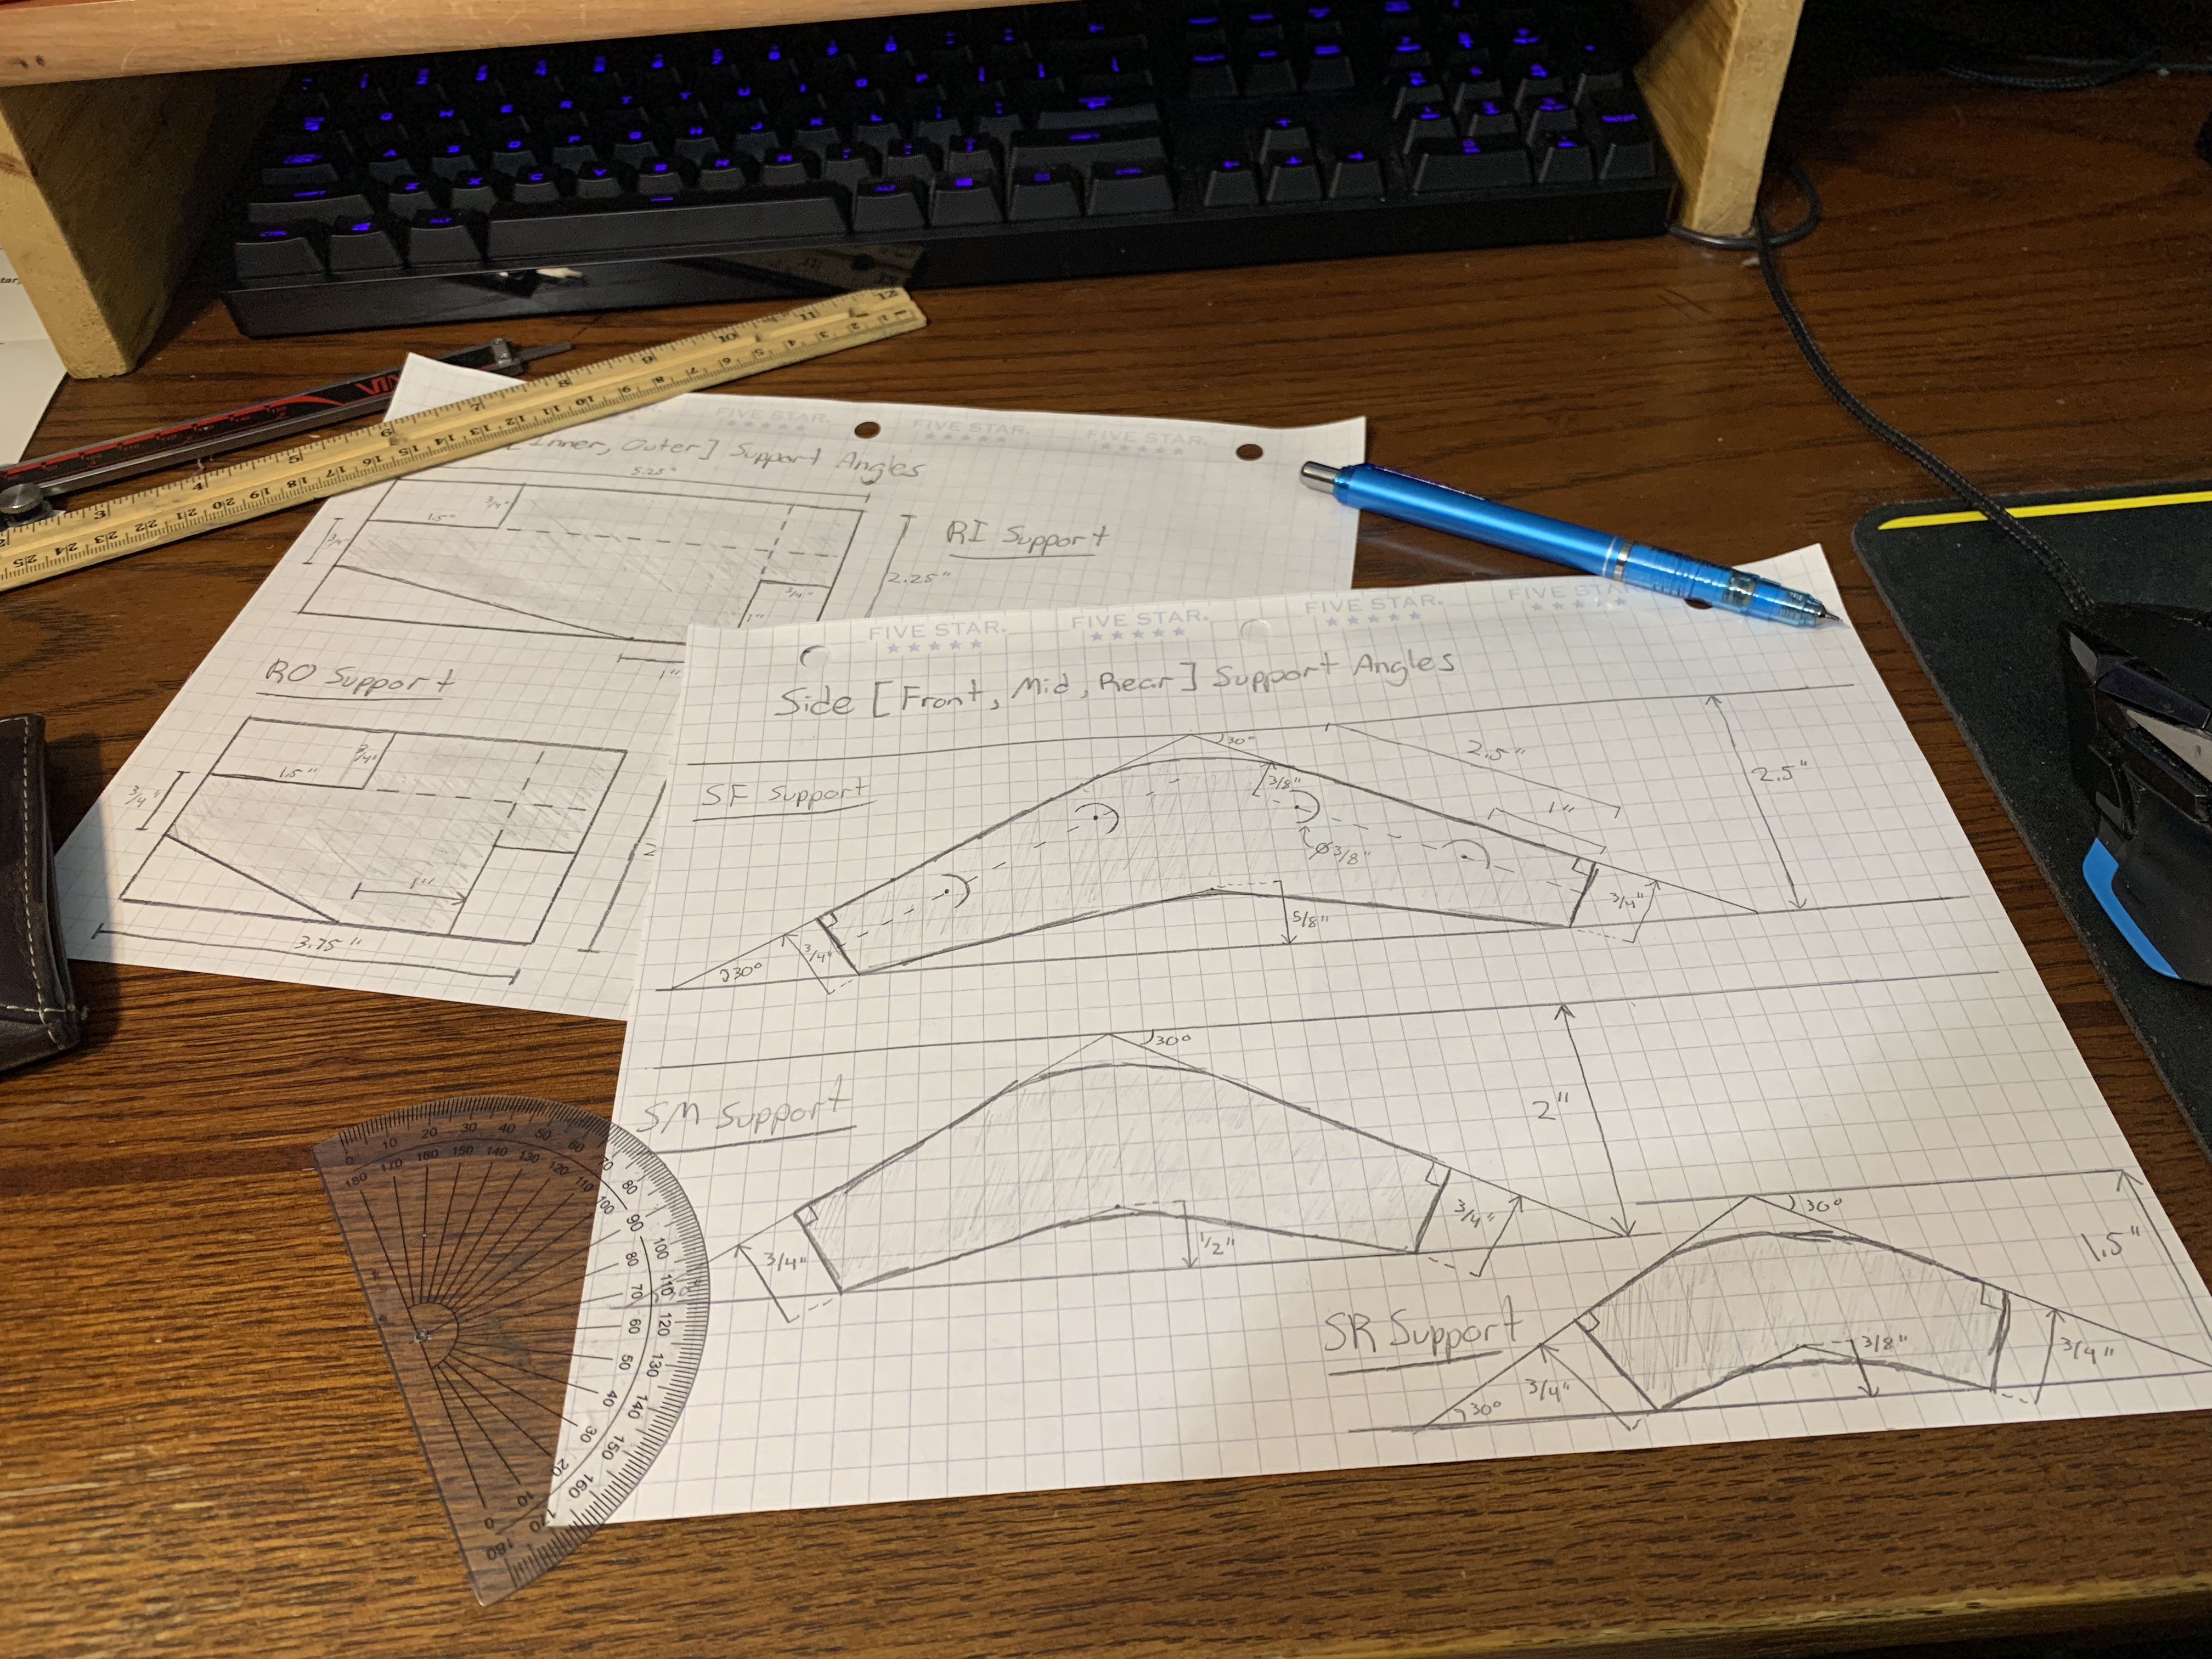
Next I had to cut the walnut supporting rib accent pieces. What I had thought were simple shapes in cad turned out to be a little more complicated in real life, so I had to make some physical guide templates on paper.
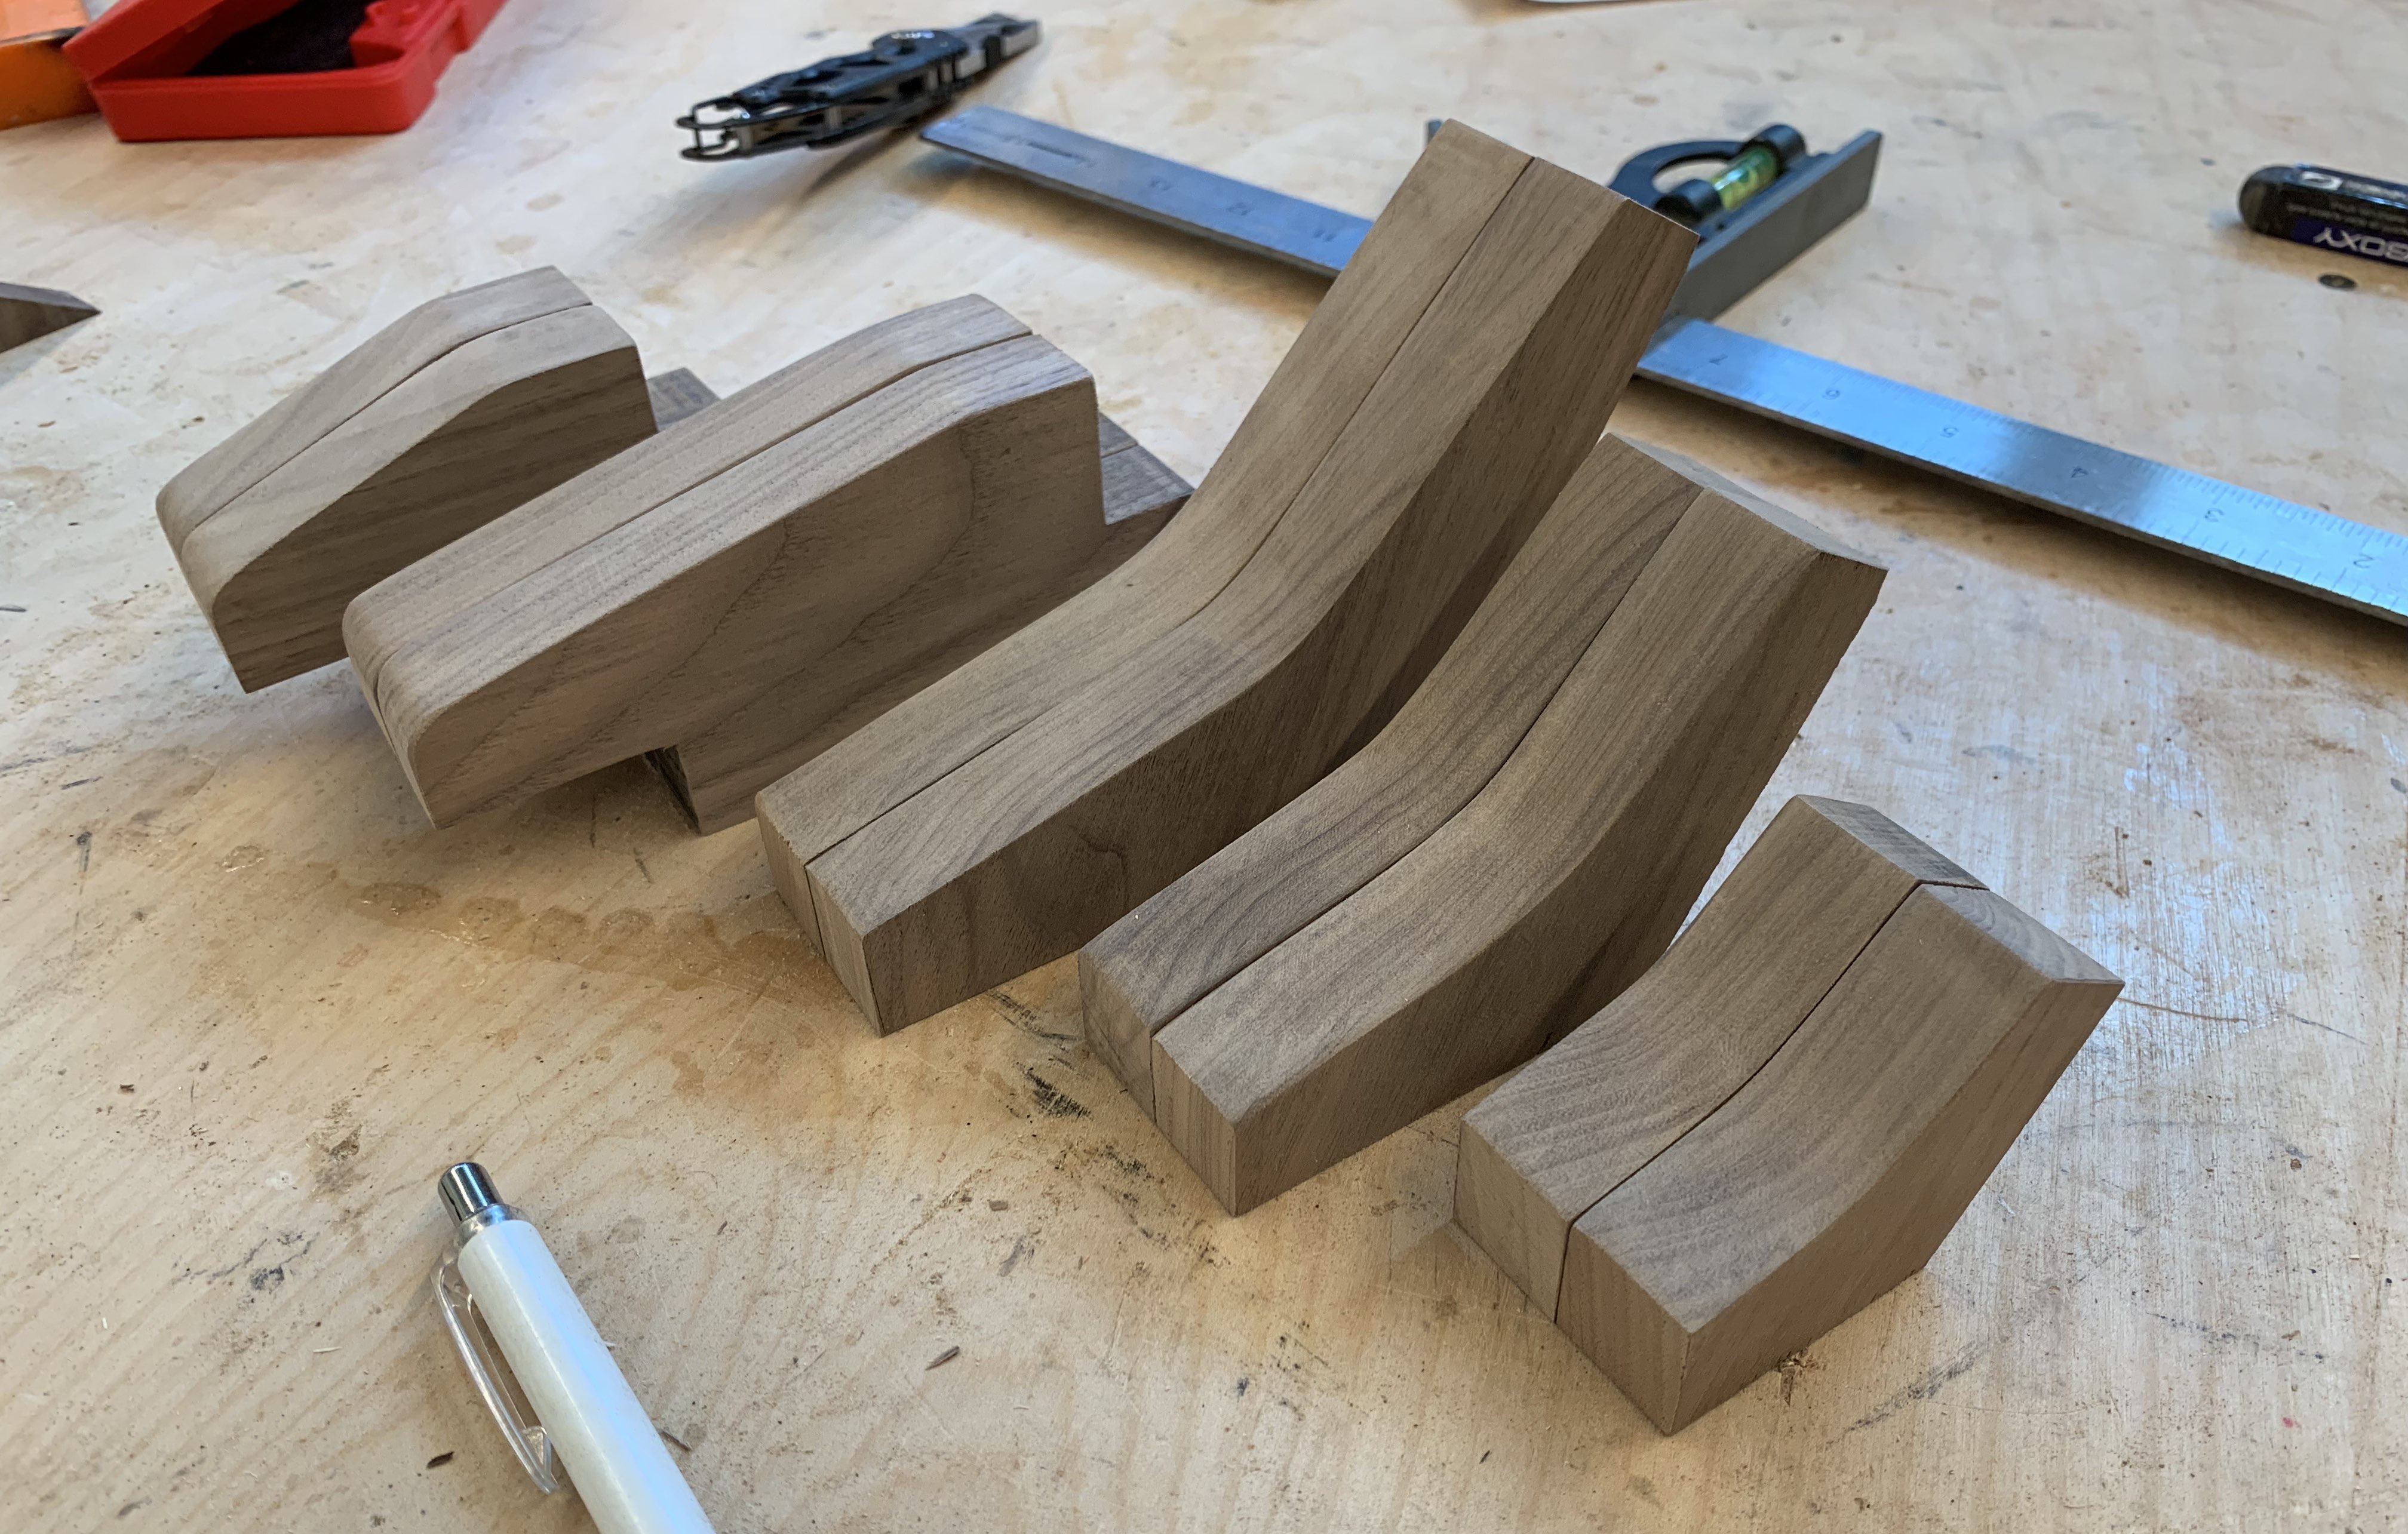
I will admit that I was quite impressed at my vertical band saw skills for cutting all of the walnut pieces perfectly on the first try. Replacing the band saw blade with a fresh new sharp blade makes a whole difference.
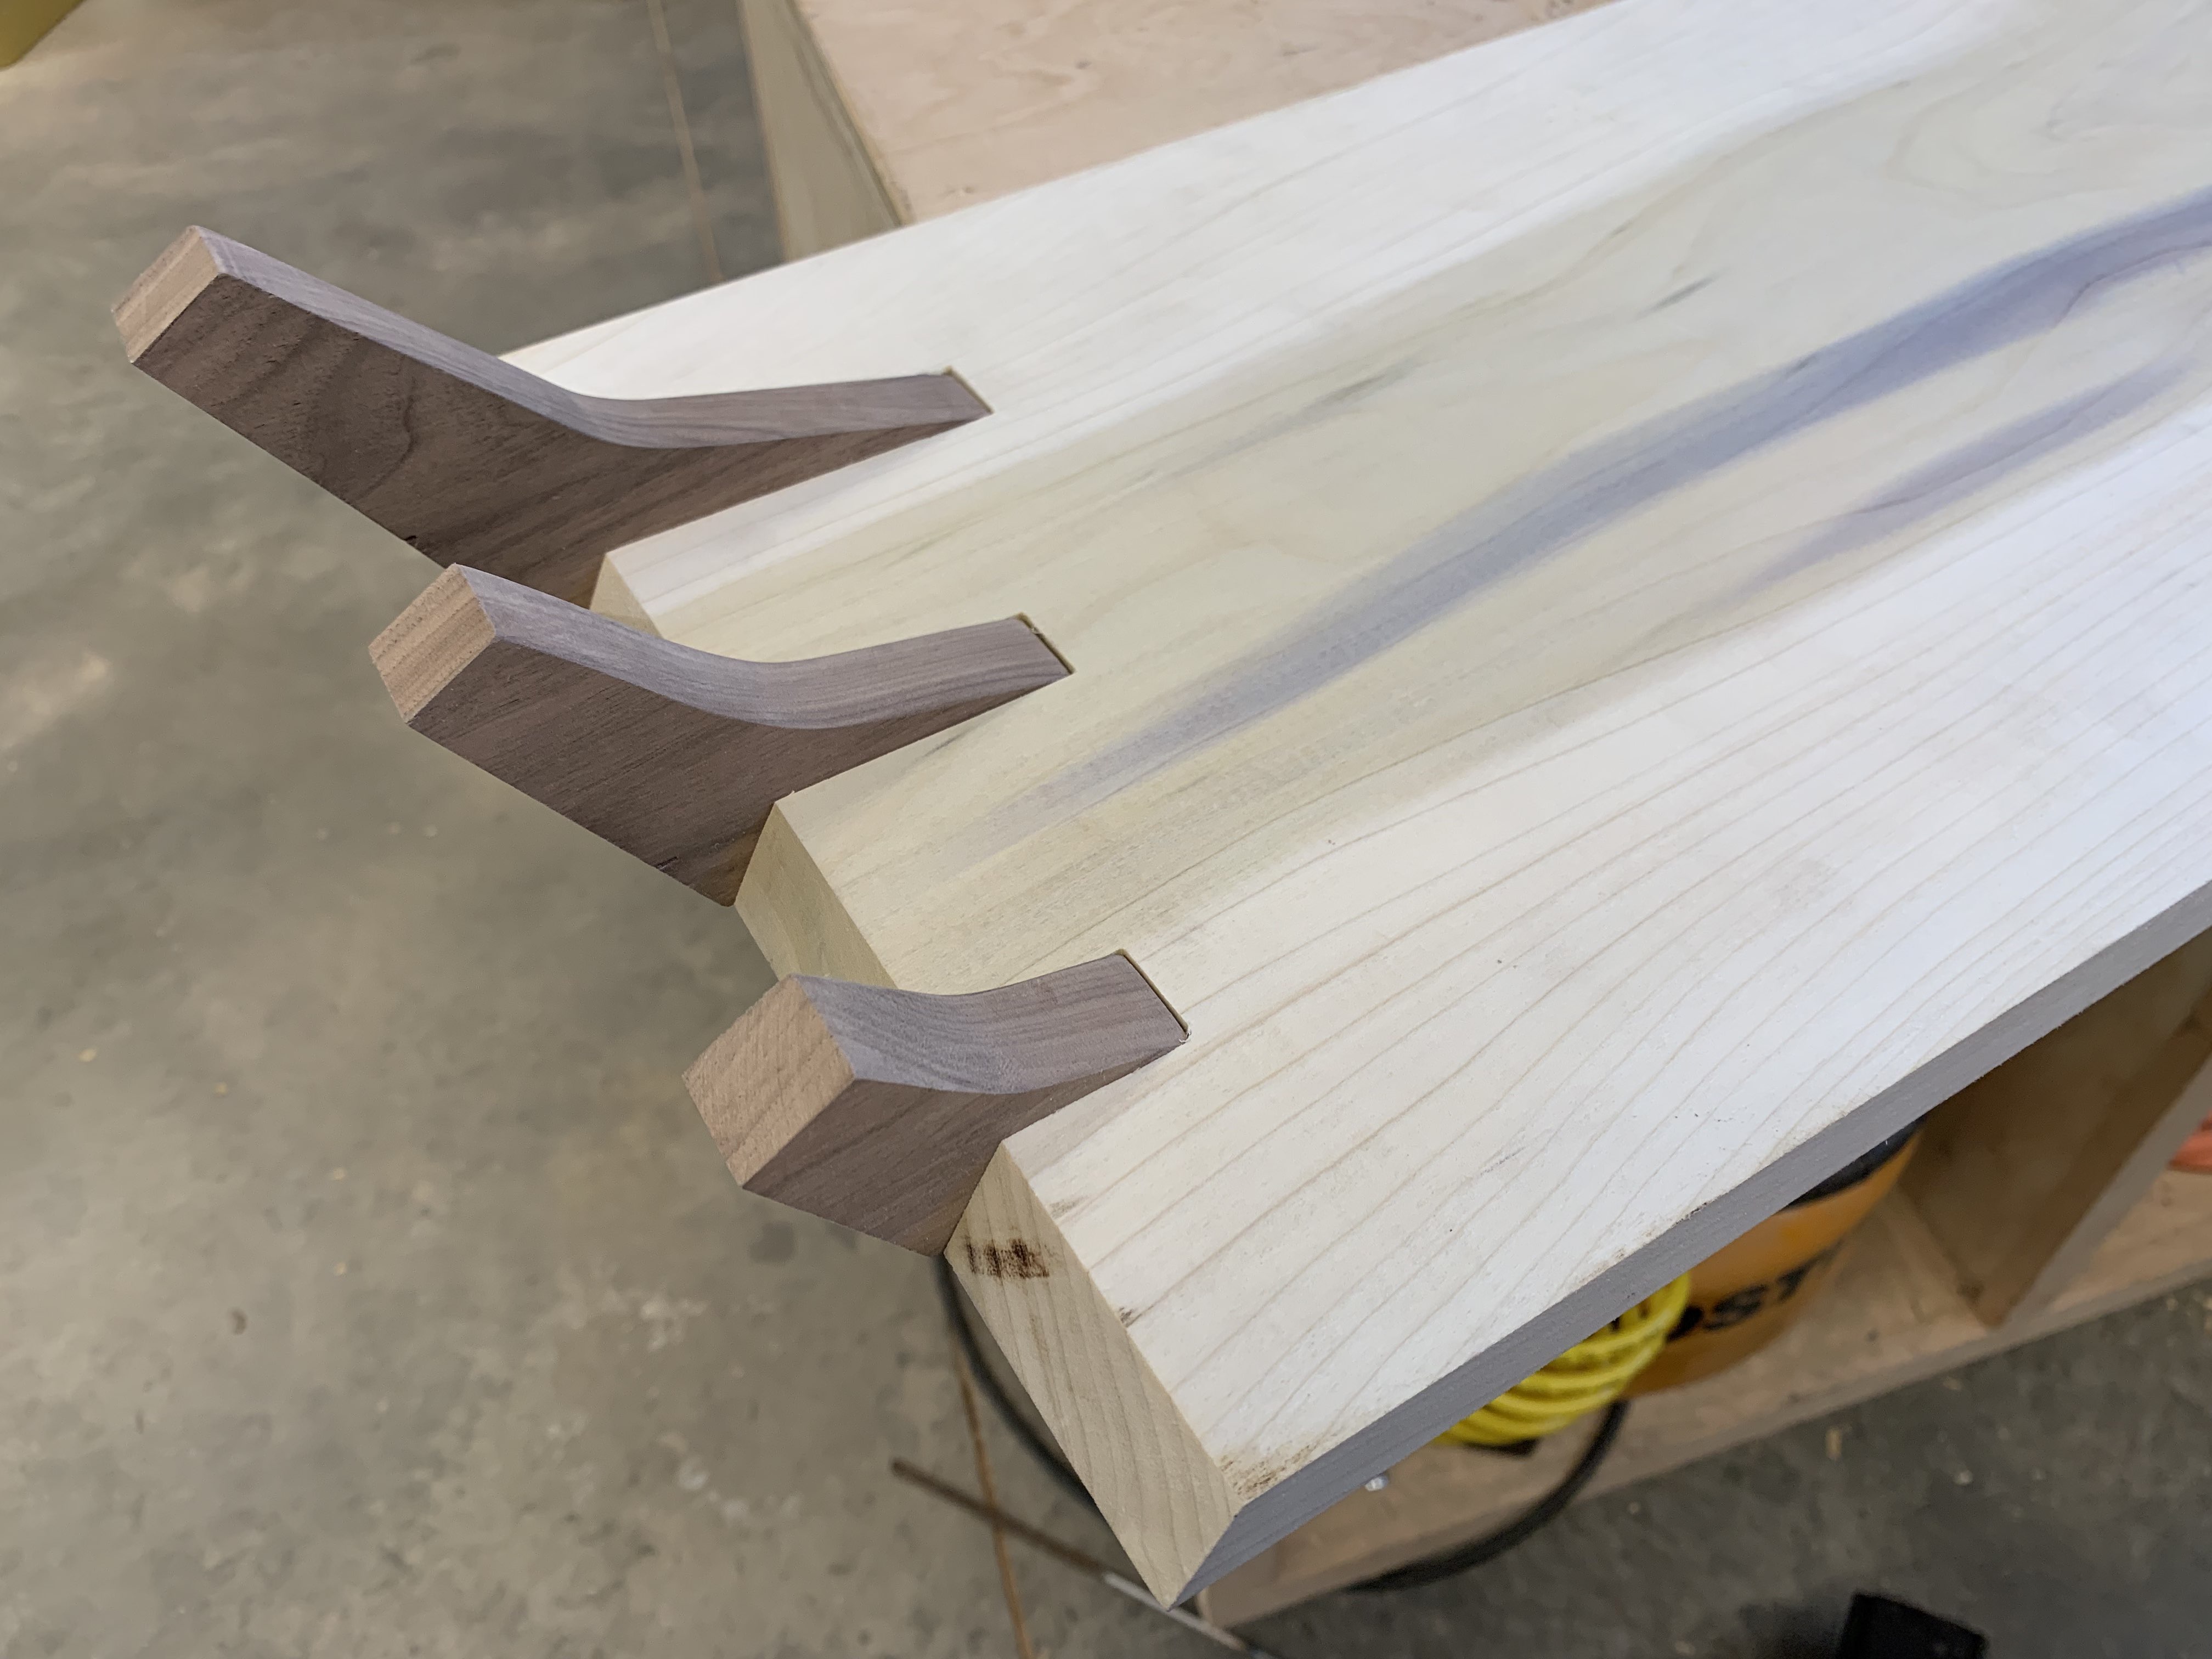
So far in this project everything has gone smoothly to plan…until it came time to cut the slots in the poplar. The slots had to be almost exactly three-quarter inches wide to fit around the walnut support accents. If the slots are undersized, the supports won’t fit and if the slots are too large then the glue won’t dry correctly rendering the supports useless. On top of that I can’t afford to mess up on any of these cuts or I would have to live with it for the foreseeable future. I ended up buying my own three-quarter inch chisel, because I couldn’t find one in the wood shop. After struggling for an entire hour to use my new chisel for the first time and almost completely butchering the first slot, I realized that I have to sharpen the chisel before I can use it effectively. Luckily I didn’t mess up and I ended up with a couple of nice slip fit slots.
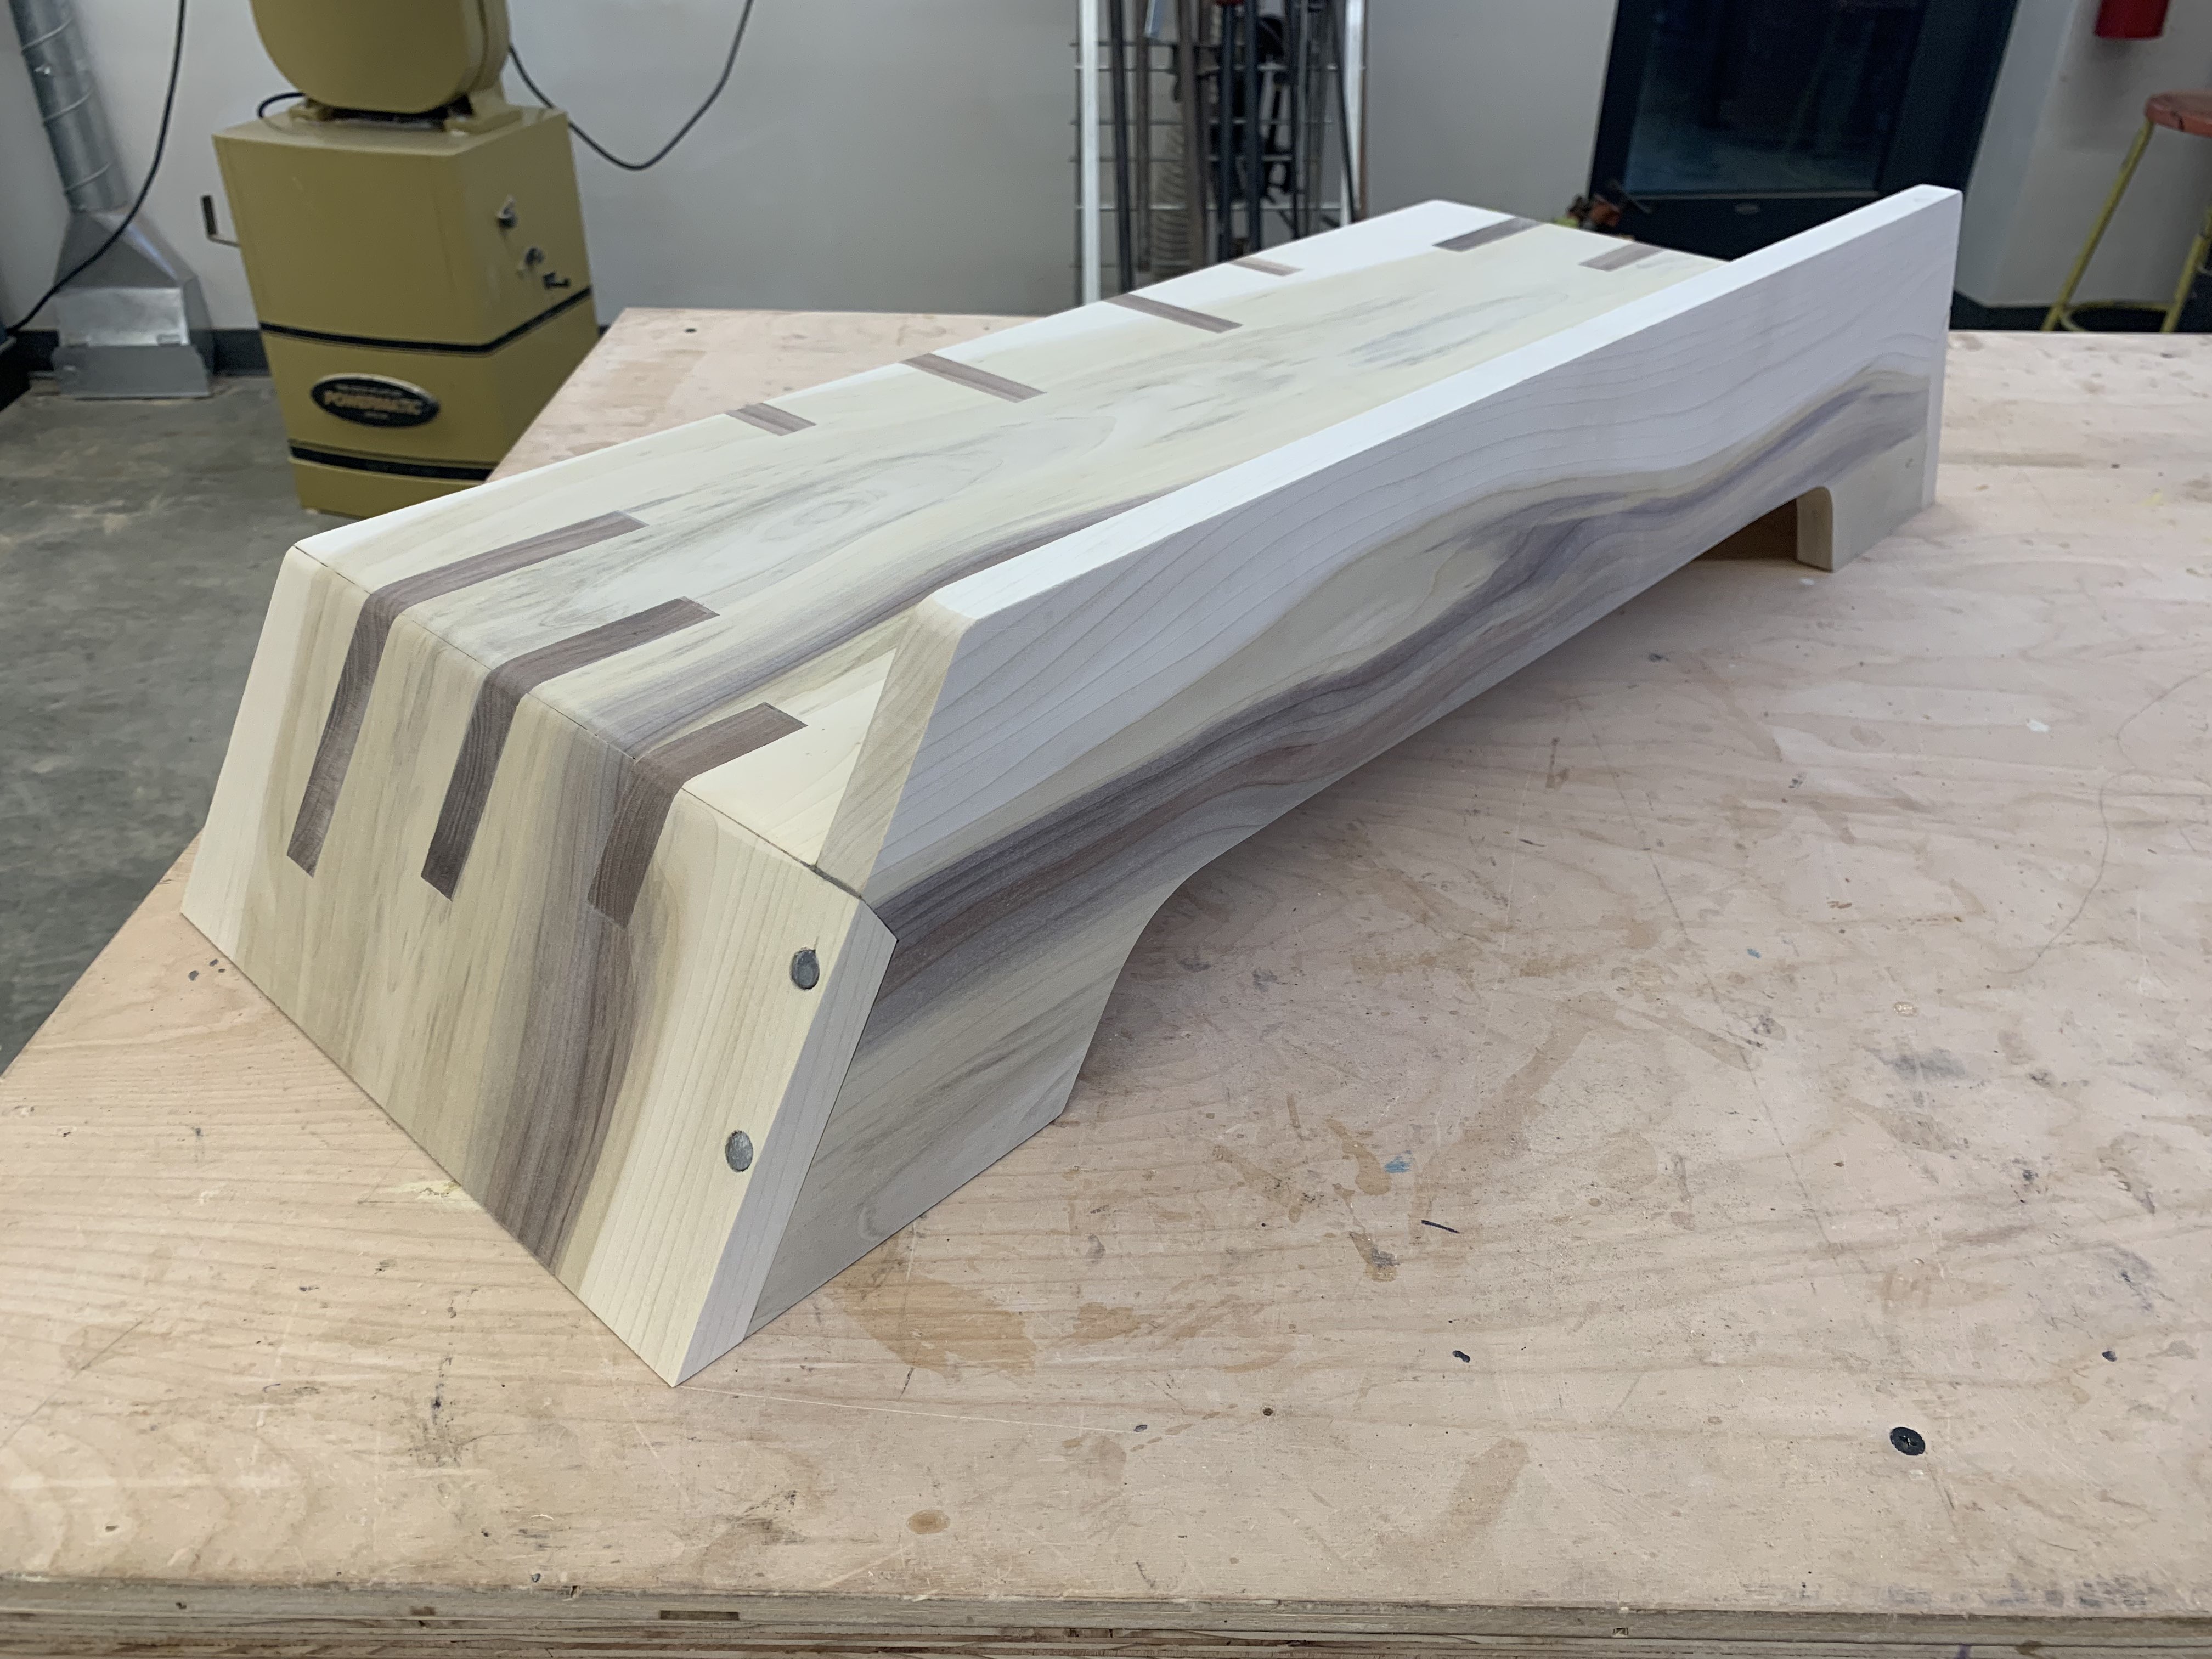
Well I didn’t mess up for much longer, because upon dry assembling everything together I realized to my horror that I accidentally cut the rear slots on the front. No time to panic, I only have a few more hours in the wood shop. I cut up four more walnut pieces to fill in the gaps and cut four more slots on the right side. The perceptive will have realized that the original cad design doesn’t have the walnut accents on the front.
Glueing everything together went without a problem. Sanding down the entire monitor stand base was oddly meditative and relaxing. Before I knew it several hours had passed and I was covered head to toe inside and out in a fine layer of wood dust.
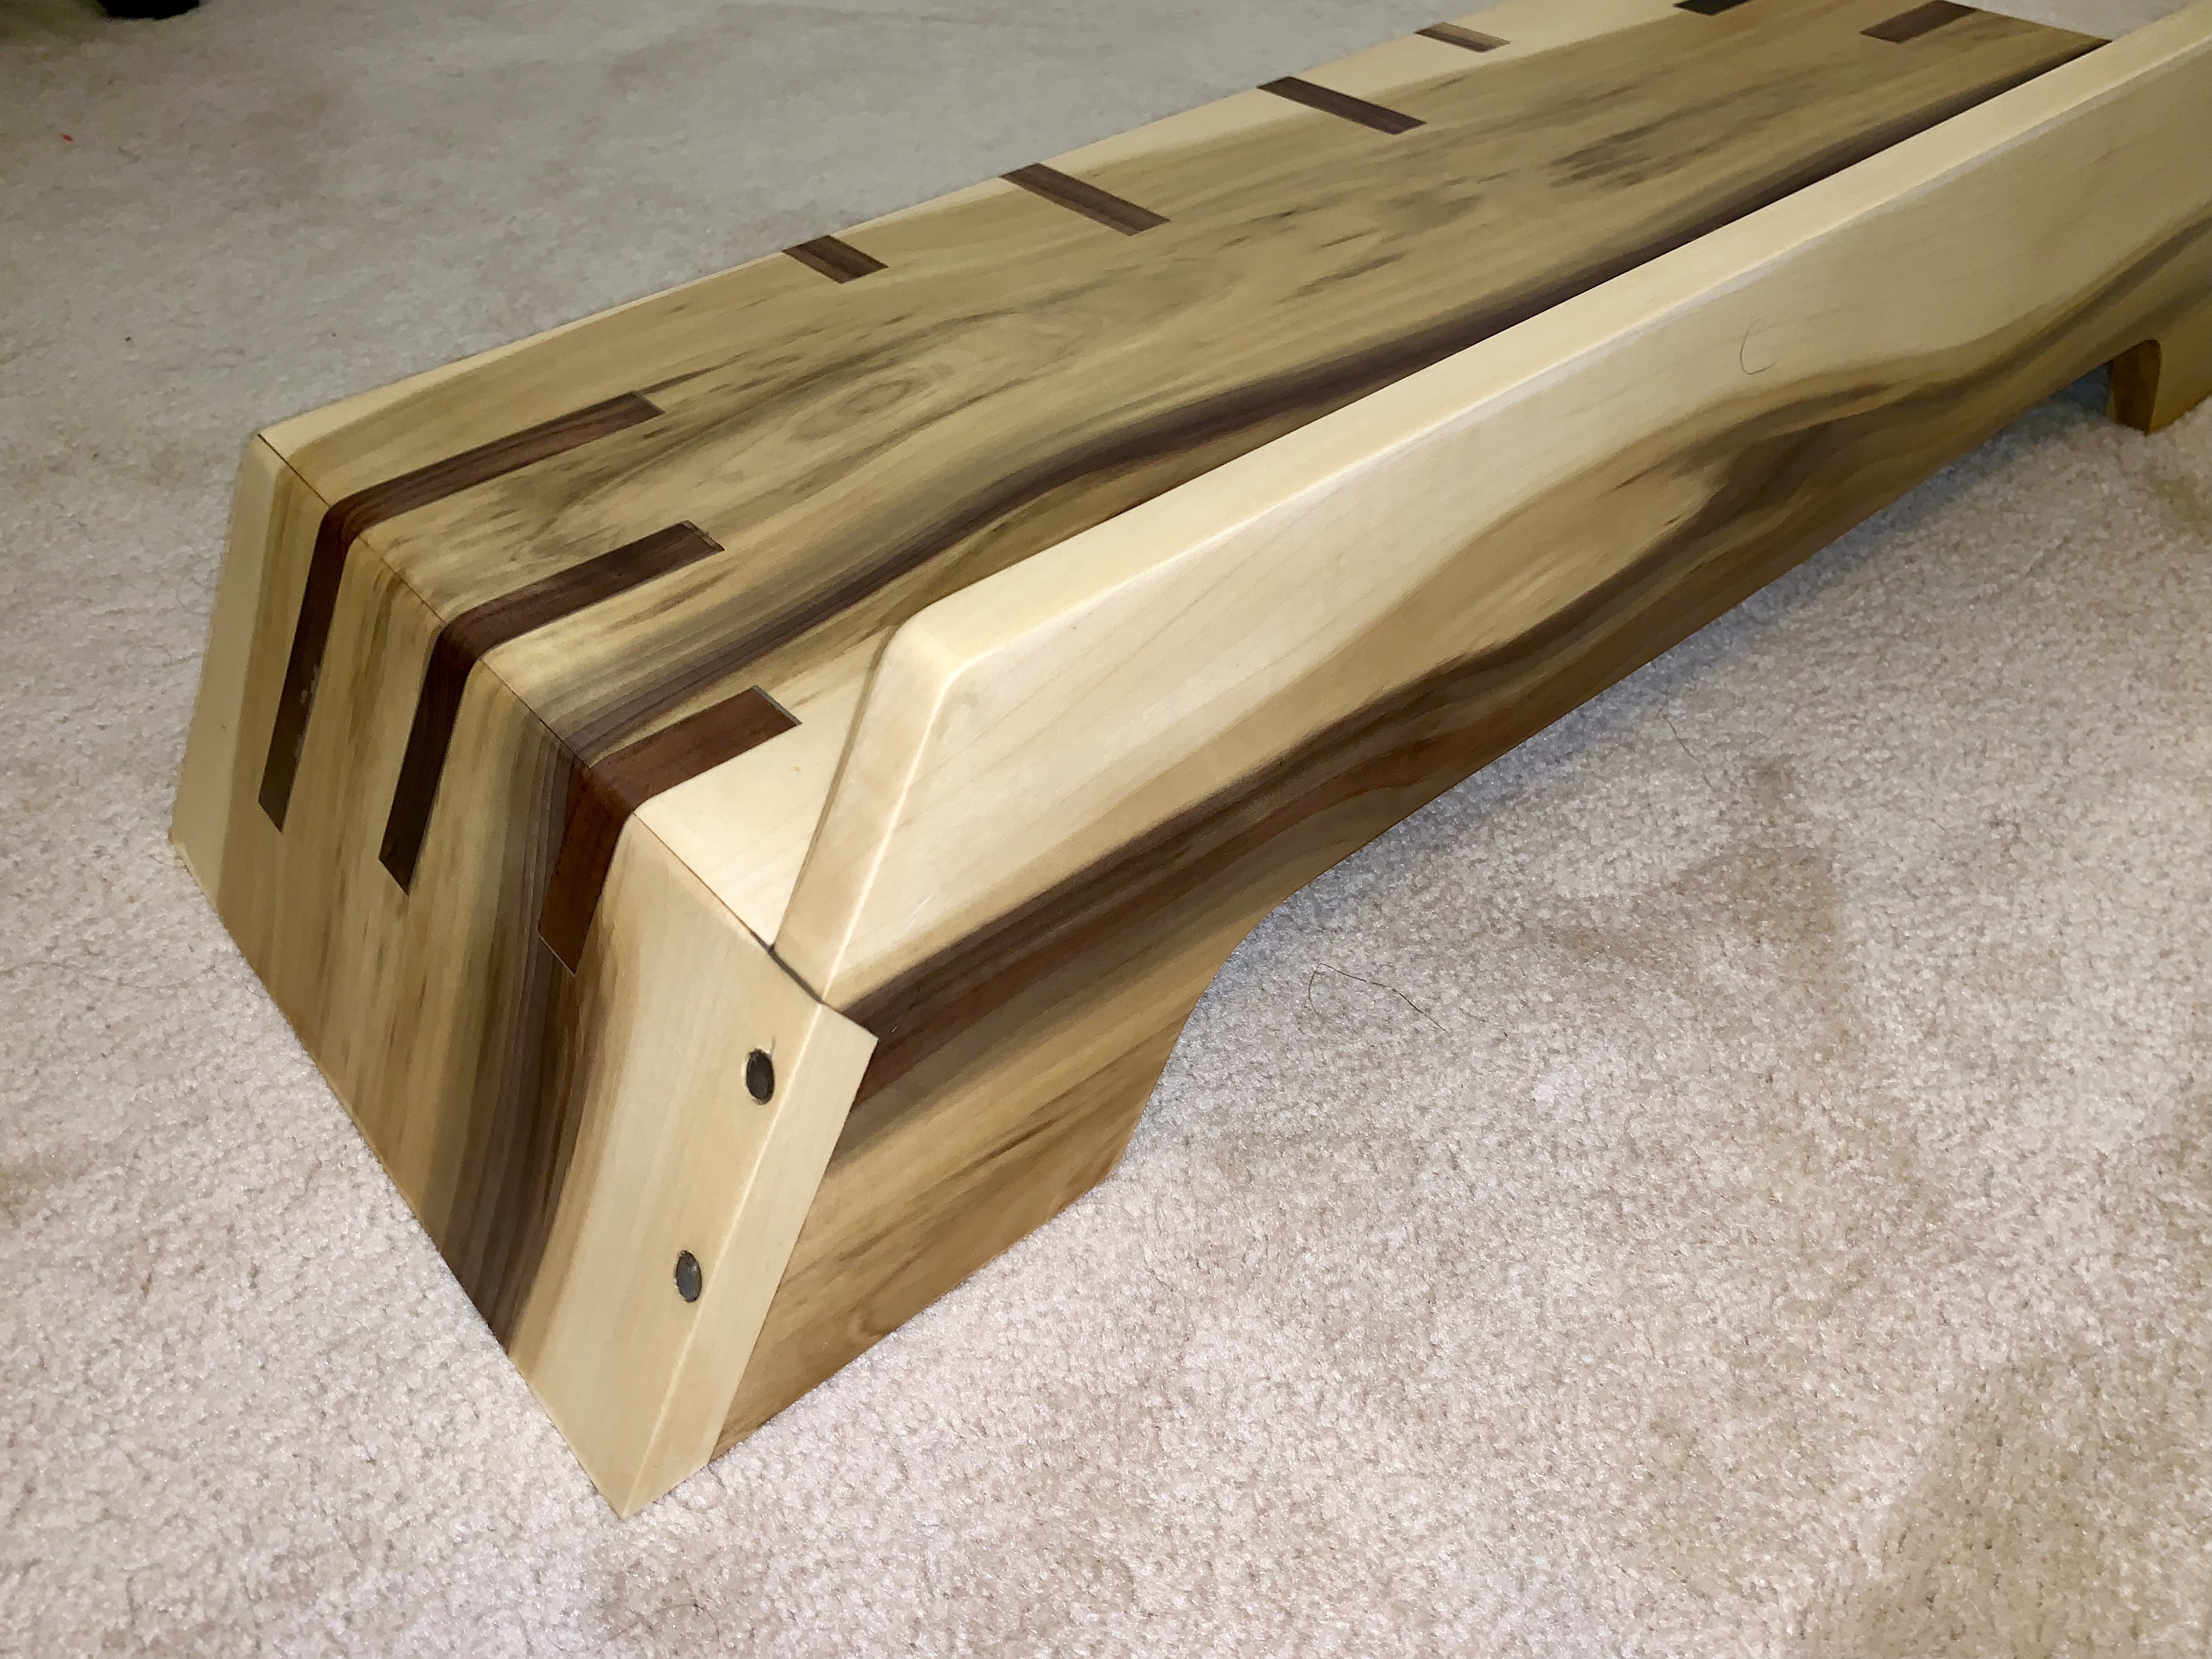
As relaxing as sanding was, nothing will compare to the feeling of seeing the piece I had been working on for the past couple of days be covered in polyurethane coating. I choose an oil-based polyurethane coating to bring out the color and last practically forever. I already thought the uncoated wood looked good, but I was not ready for the insane color change oil-based poly brings to the table. I applied and sanded several layers of poly to get a nice and even matte finish.
Overall the wood monitor stand project was a success. I test loaded the stand up with 90lb overnight to see if it would warp or crack under the weight before attaching my actual monitors and it passed. A safety factor of 2 is plenty enough for this design. I personally think the design looks unique with the mineral stained poplar and dark walnut accents. The extra time cutting the support ribs and slots was well worth it.
Skills Enhanced
- CAD (PTC Creo Paramtric)
- FEA (PTC Creo Simulate)
- Wood Working